WELCOME TO LITTLE HONEY BLOG!!!
Be yourself; Everyone else is already taken.
— Oscar Wilde.
This is the first post on my new blog. I’m just getting this new blog going, so stay tuned for more. Subscribe below to get notified when I post new updates.
"Everyone can bake"
WELCOME TO LITTLE HONEY BLOG!!!
Be yourself; Everyone else is already taken.
— Oscar Wilde.
This is the first post on my new blog. I’m just getting this new blog going, so stay tuned for more. Subscribe below to get notified when I post new updates.
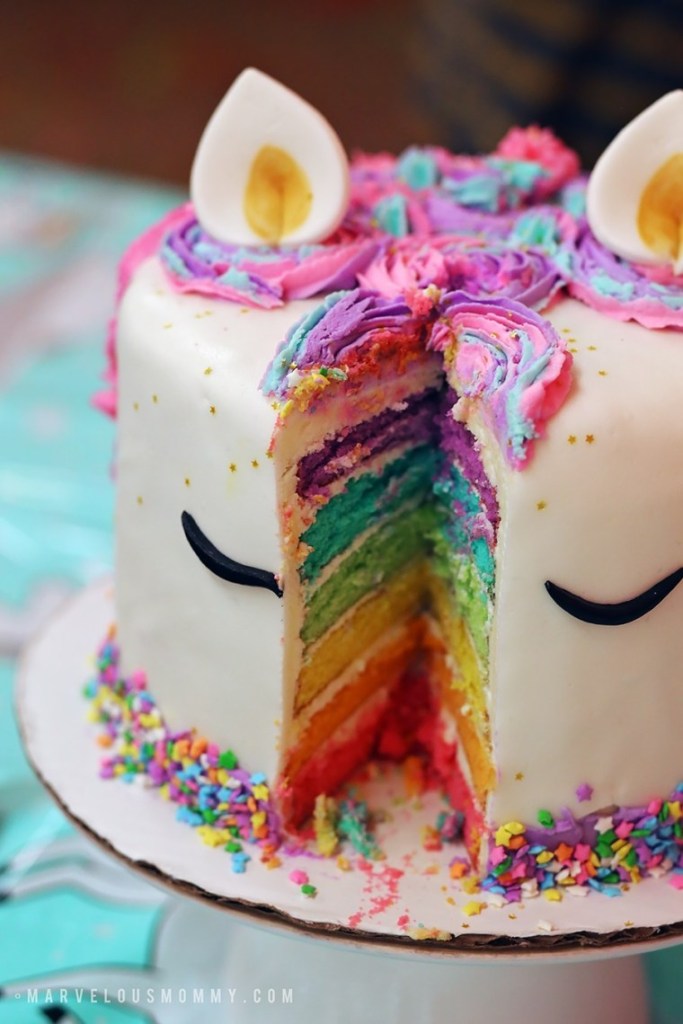
I wanted the interior of my unicorn cake to be just as magical as the exterior so I created a tie-dye rainbow swirl cake out of a white cake mix.

If you don’t want to go through that much effort, a simple white cake would be just fine.
Being I wanted my cake on a black background and I didn’t have a black board that was the right size I cut a cake cardboard to fit underneath my cake and set it on a table-sized black board. You can simply place your cake on a large cutting board, serving platter or cake board.
You won’t believe how easy it is to transform a 9×13 sheet cake into this delightful Rainbow Unicorn Cake with a colorful candy clay (modeling chocolate) mane and tail. When you cut into the cake you’ll reveal a swirl of rainbow coloring hiding inside.
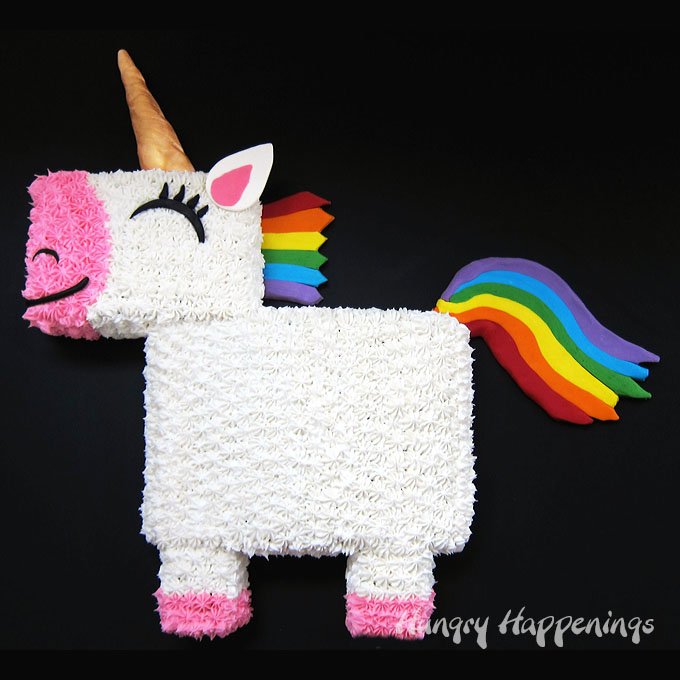
Did you, your mom, or grandmother ever bake a birthday cake from the Baker’s Coconut Cut-Up Cake recipe booklet? Mine did! Back in the 1960’s and early 70’s those cakes were all the rage. You simply baked one 9X13 sheet cake or 2 square or round cakes then cut them into simple shapes before assembling them to look like a lion, butterfly, duck, giraffe, dog, etc.
I am so excited to share this idea to make a simple Rainbow Unicorn Cake.
Cut-apart cakes are easy to frost and decorate and looked so cute. These simple cakes were popular years before shaped cake pans were available and the designs were easy enough for any home cook to recreate.
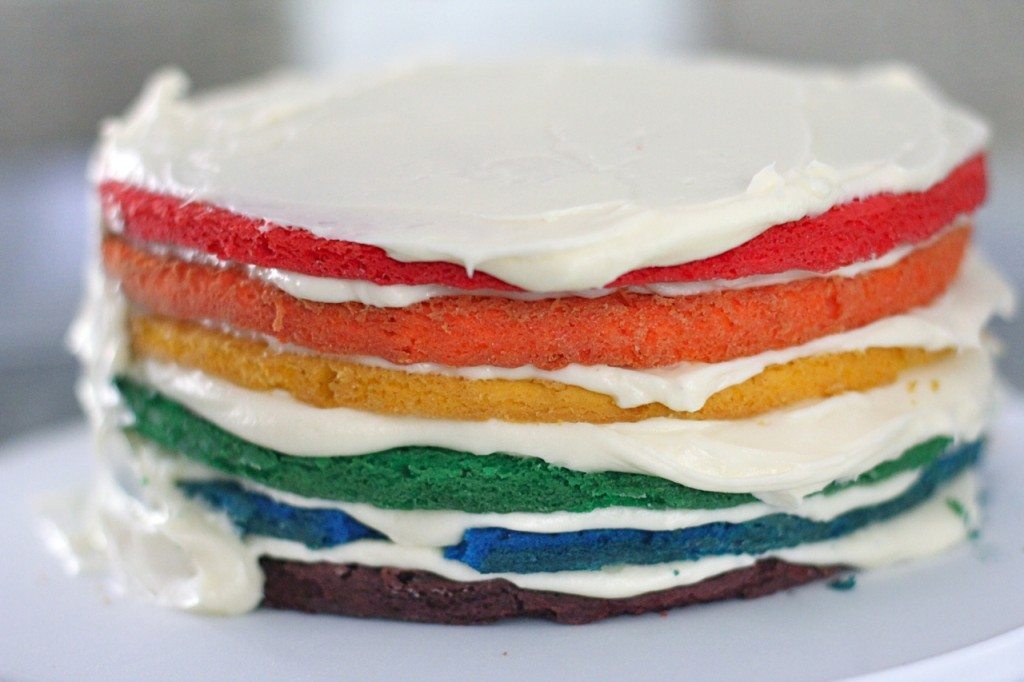
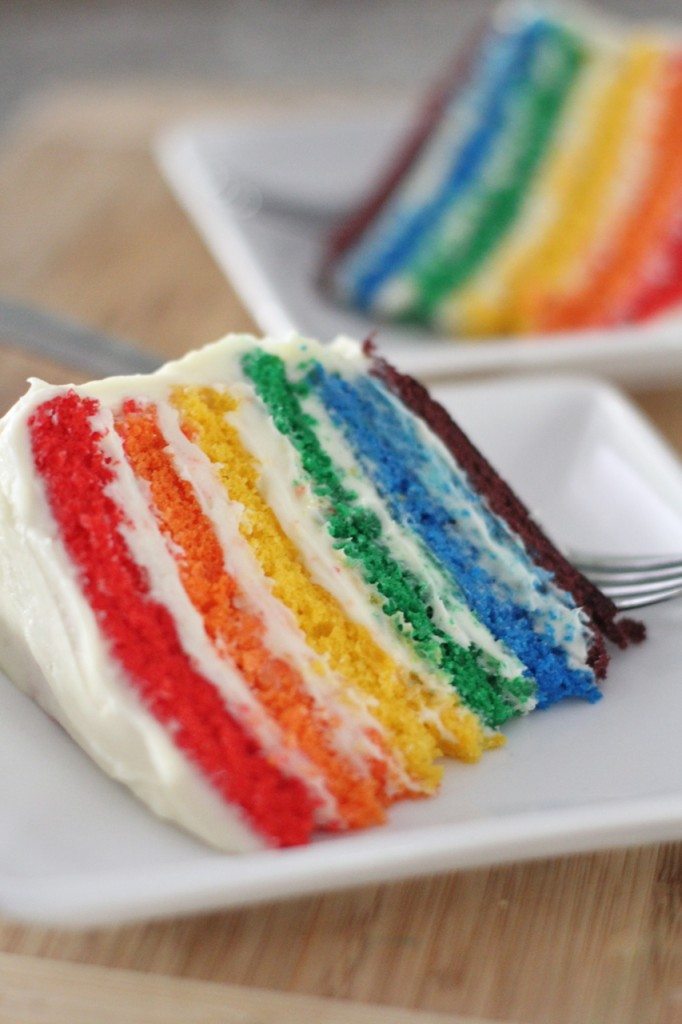
“HOW TO MAKE A RAINBOW CAKE FROM SCRATCH, EASILY!! FAIL-PROOF BUTTERMILK VANILLA CAKE RECIPE THAT’S DELICIOUS, EASY AND DOWNRIGHT IMPRESSIVE!”
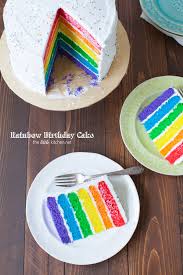
Listen, I don’t know too many foods that can make you feel all cheery inside than the sight of a beautiful, bright rainbow layered cake!
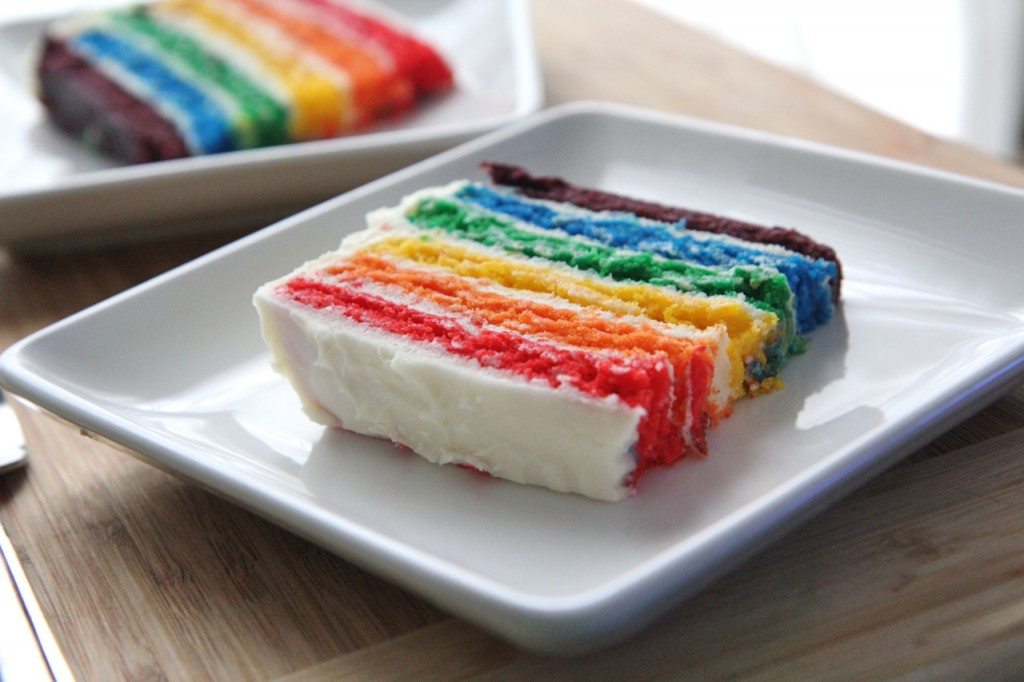
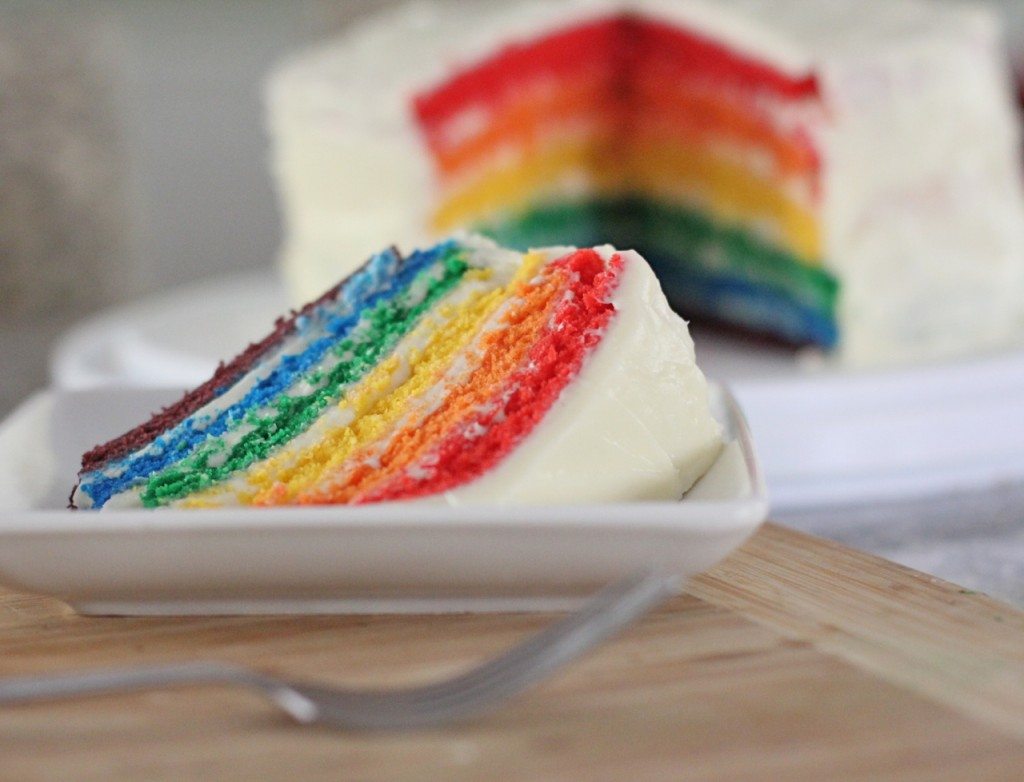
Just look at all those happy vibrant colors!! Wouldn’t you feel special if someone made this for you? Especially if you thought you were receiving just a regular ol cake? I know I would!
I made this rainbow cake this morning for my boys and they thought I was the coolest mom EVERRRRR! *toot toot*
They were so impressed and was all like “oh my God how did you make this!?”, “You’re the best mom on this earth”, “You’re prettier than Beyonce mom!”, “I hope my wife is just as fabulous as you are!”…. Ok I added those last two lines but still…..you get the point…they were like, really happy.
The last time I made something rainbowish on my blog was when I made these rainbow (tie dye) cupcakes for Isaac when he was potty trained.
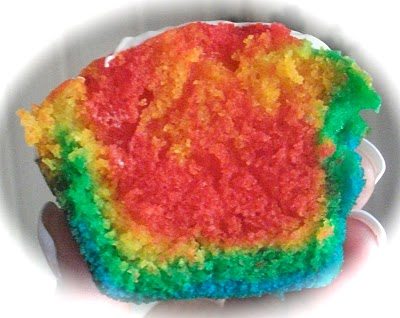
Wow how time flies! Now I’m potty training Ethan!
This is an example post, originally published as part of Blogging University. Enroll in one of our ten programs, and start your blog right.
You’re going to publish a post today. Don’t worry about how your blog looks. Don’t worry if you haven’t given it a name yet, or you’re feeling overwhelmed. Just click the “New Post” button, and tell us why you’re here.
Why do this?
The post can be short or long, a personal intro to your life or a bloggy mission statement, a manifesto for the future or a simple outline of your the types of things you hope to publish.
To help you get started, here are a few questions:
You’re not locked into any of this; one of the wonderful things about blogs is how they constantly evolve as we learn, grow, and interact with one another — but it’s good to know where and why you started, and articulating your goals may just give you a few other post ideas.
Can’t think how to get started? Just write the first thing that pops into your head. Anne Lamott, author of a book on writing we love, says that you need to give yourself permission to write a “crappy first draft”. Anne makes a great point — just start writing, and worry about editing it later.
When you’re ready to publish, give your post three to five tags that describe your blog’s focus — writing, photography, fiction, parenting, food, cars, movies, sports, whatever. These tags will help others who care about your topics find you in the Reader. Make sure one of the tags is “zerotohero,” so other new bloggers can find you, too.
